Control an LED Bar via Raspberry Pi with Rust
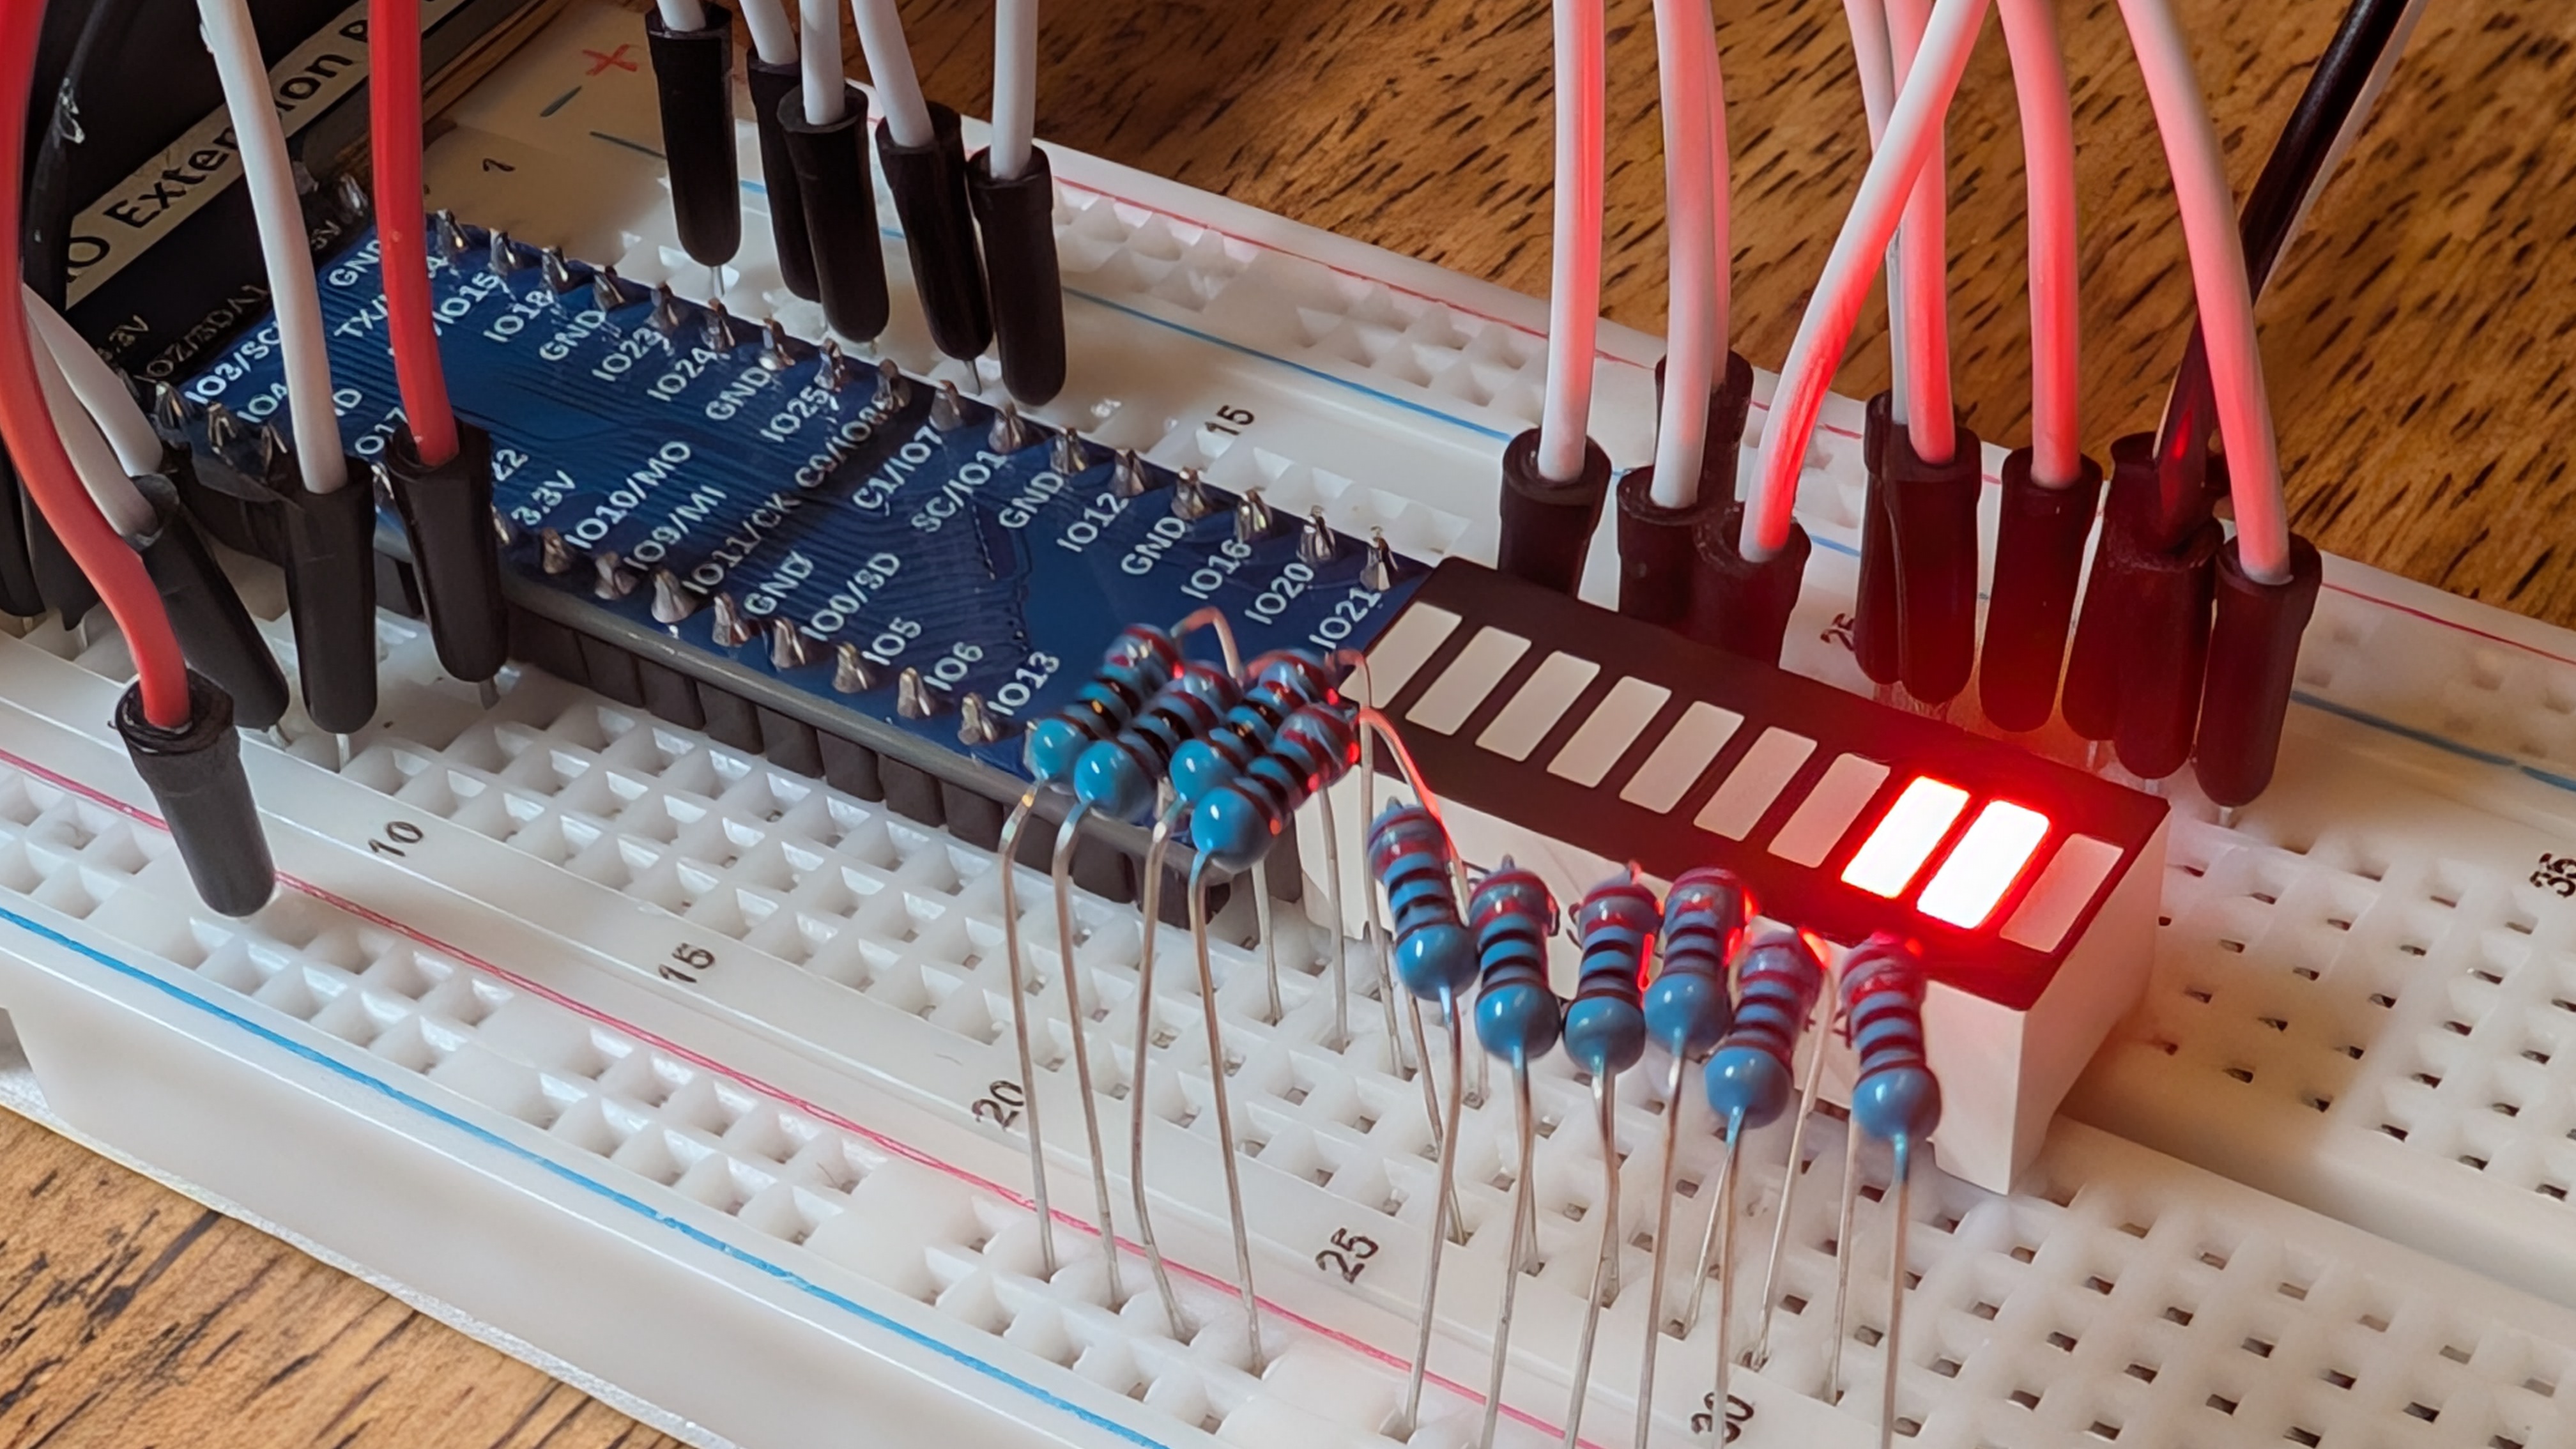
Table of Contents
Overview
This article describes how to control an LED bar (Bar Graph LED) using Rust. As in the previous article, we use the Freenove project as the subject. The kit can be purchased on Amazon, but since the parts are generic, please procure them by any method you prefer.
Components
To control multiple LEDs, many resistors and jumper wires are used.
- LED bar x1
- 220Ω resistors x10
- Jumper wires x11
Circuit
Please refer to the link section 3.1.3 Circuit for the circuit diagram and wiring method.
Code
Please add rppal and ctrlc dependencies in advance using cargo. Since multiple LEDs are used, GPIO pins are assigned to each LED and listed in an array, allowing control of pins sequentially in a for loop. The LED_PINS array is not in consecutive order to create a wave-like LED on/off effect, but the numbers are arranged in this order to control the LEDs sequentially. The mechanism reads the LEDs from the start using the index number and controls the LEDs in reverse order by reading the index backward.
use rppal::gpio::{Gpio, Level};
use std::error::Error;
use std::sync::atomic::{AtomicBool, Ordering};
use std::sync::Arc;
use std::thread::sleep;
use std::time::Duration;

fn main() -> Result<(), Box<dyn Error>> {
    // Init
    println!("Program is starting...");
    let gpio = Gpio::new()?;
    const LED_PINS: [u8; 10] = [17, 18, 27, 22, 23, 24, 25, 2, 3, 8];
    let mut leds: Vec<_> = Vec::with_capacity(LED_PINS.len());
    for &pin_num in LED_PINS.iter() {
        let pin = gpio.get(pin_num)?.into_output();
        leds.push(pin);
    }

    // Exit when Ctrl+C is pressed
    let running = Arc::new(AtomicBool::new(true));
    let r = running.clone();
    ctrlc::set_handler(move || {
        r.store(false, Ordering::SeqCst);
    })?;

    // Main loop
    while running.load(Ordering::SeqCst) {
        for i in 0..leds.len() {
            if !running.load(Ordering::SeqCst) {
                break;
            }
            leds[i].write(Level::Low);
            sleep(Duration::from_millis(100));
            leds[i].write(Level::High);
        }
        for i in (0..leds.len()).rev() {
            if !running.load(Ordering::SeqCst) {
                break;
            }
            leds[i].write(Level::Low);
            sleep(Duration::from_millis(100));
            leds[i].write(Level::High);
        }
    }
    // Cleanup
    for led in leds.iter_mut() {
        led.set_low();
    }
    Ok(())
}
Operation Example
The circuit is simple
— K (@rmc_km) June 2, 2025
Rewriting in Rust! pic.twitter.com/FxqM03esUE
Summary
This article described the process of arranging resistors and LEDs in parallel and controlling their on/off states from Rust. This is a simple yet useful process for expressing that a process is ongoing or representing some state using an LED bar. Although the code is simple, actually writing it reveals the difficulty of controlling it as intended. Understanding precise control improves the resolution of your thinking about development and leads to performing Vibe Coding with accurate instructions. If things do not work well, it is recommended to analyze the cause of failure using generative AI effectively.


Loading comments...