【Rust】Control a Buzzer with Raspberry Pi
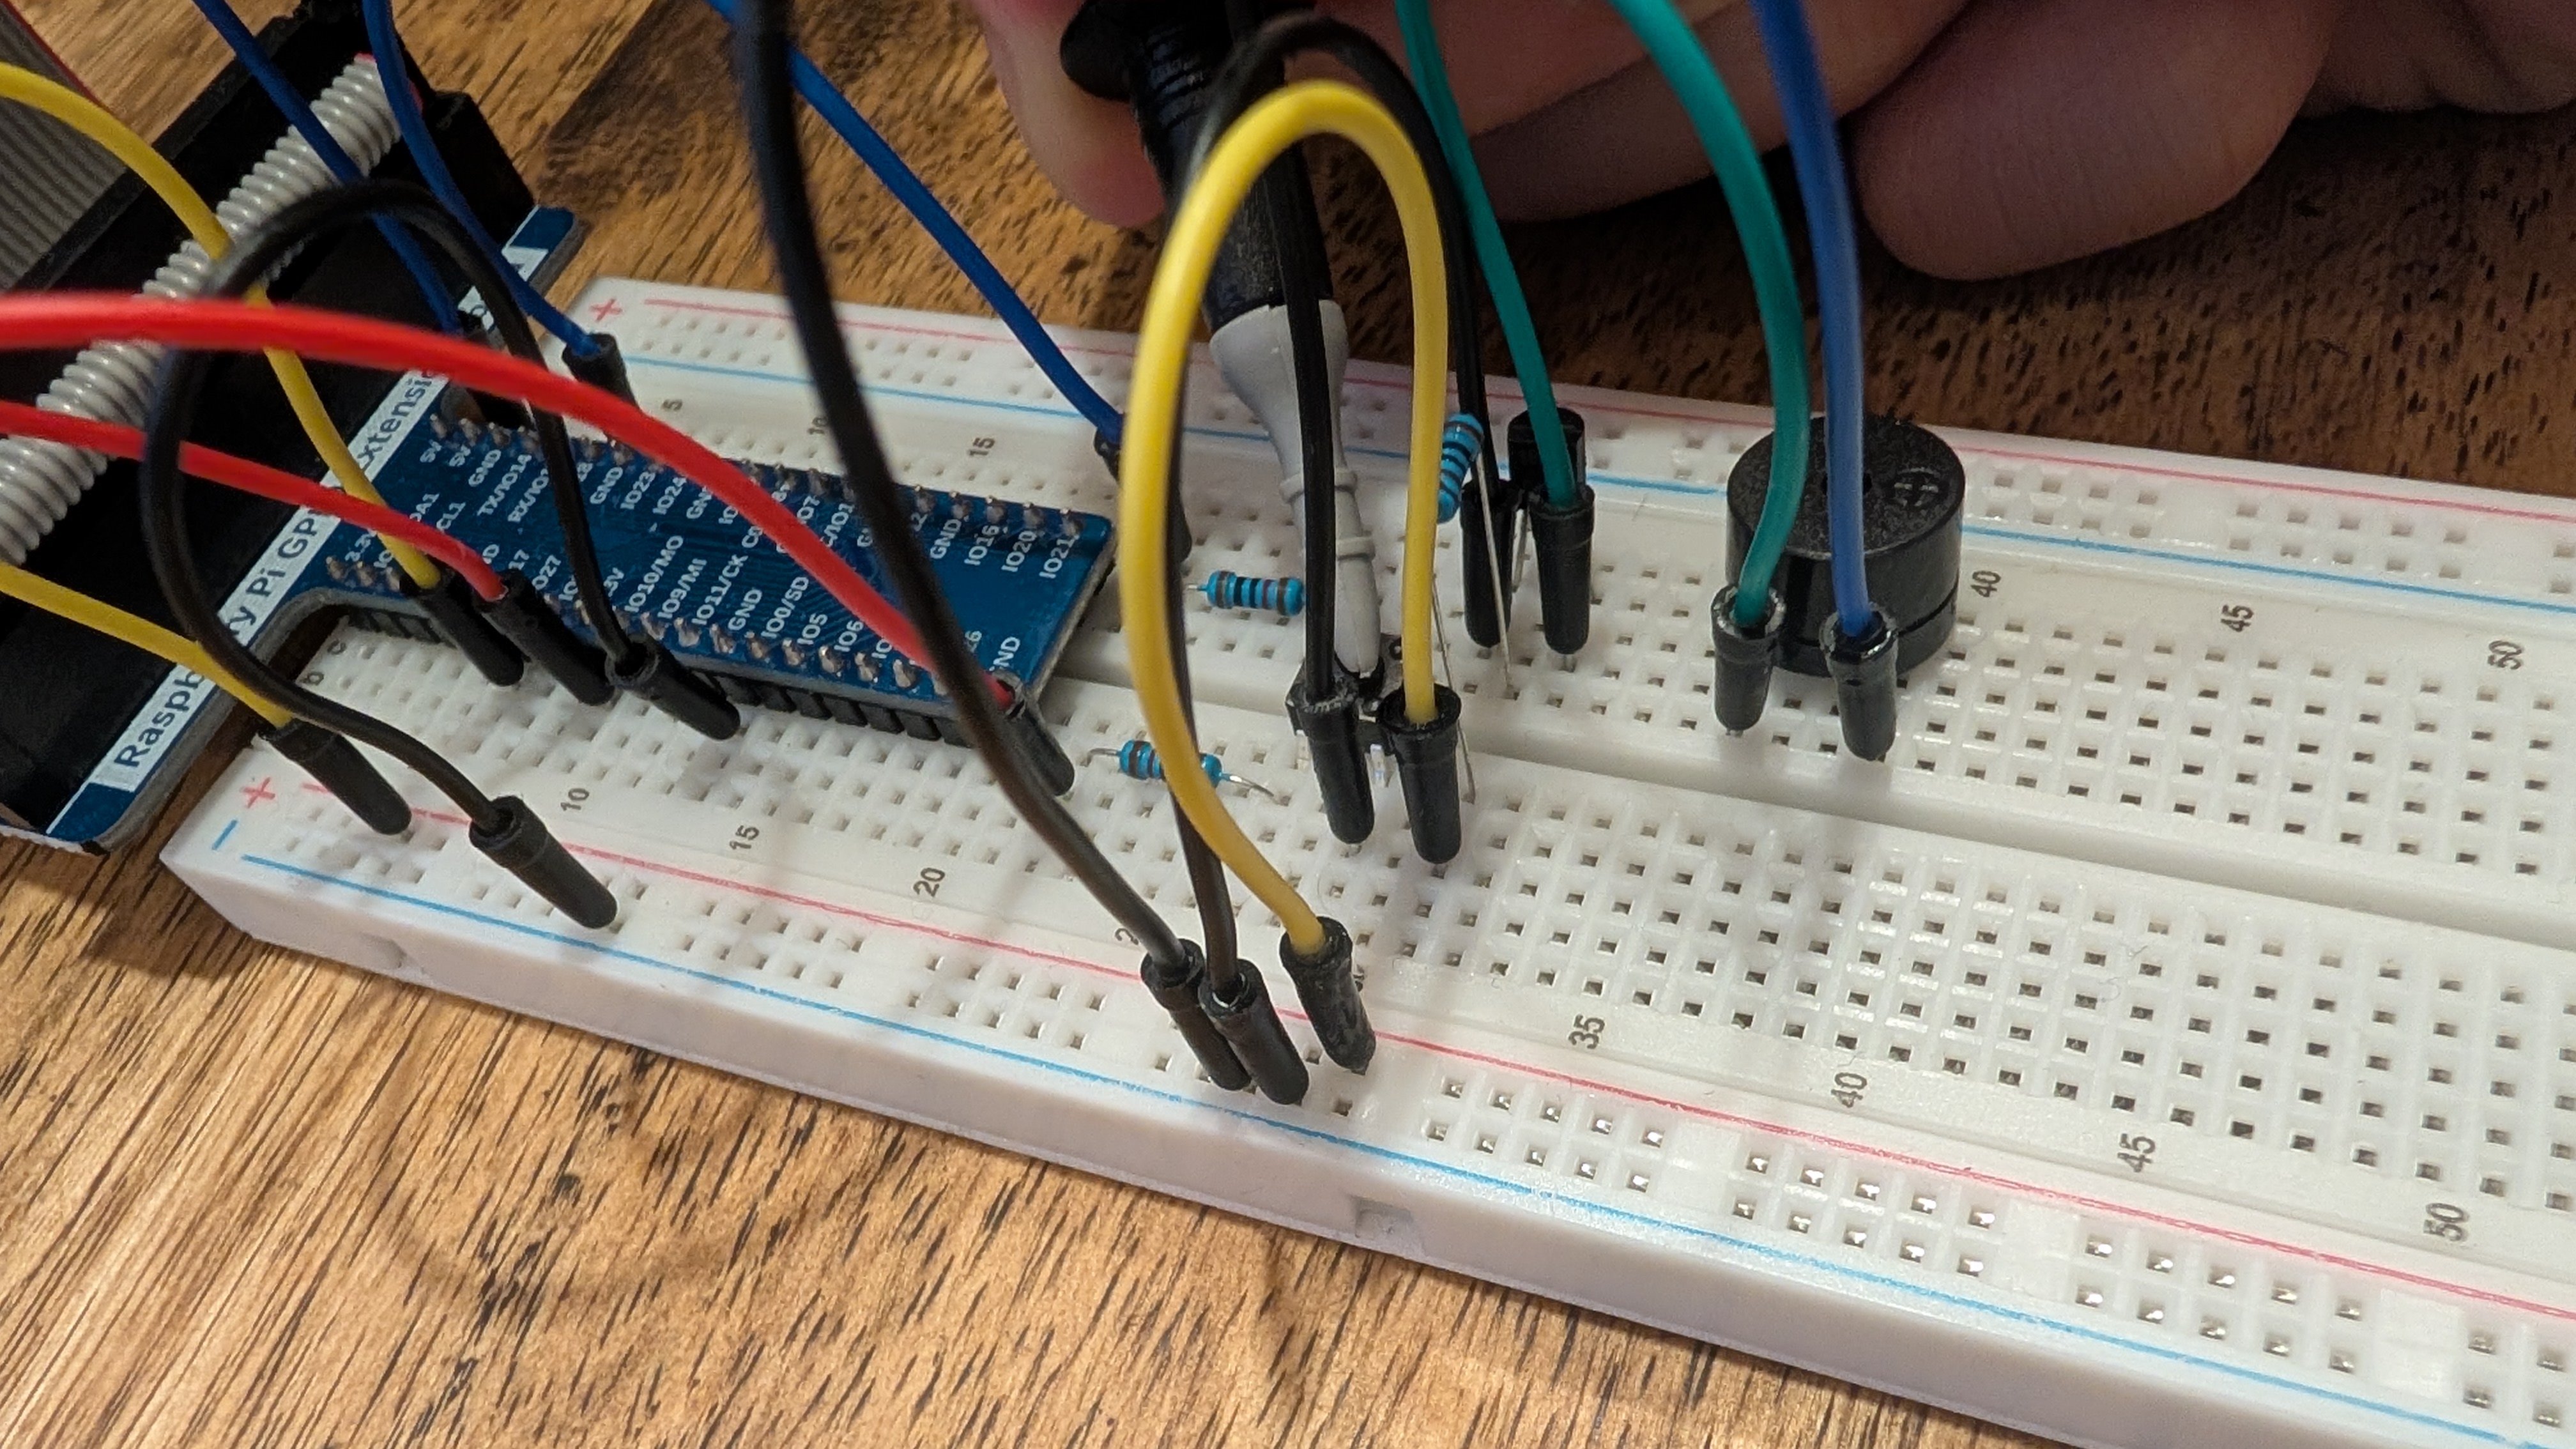
Table of Contents
Overview
This article demonstrates how to control a buzzer using transistors, a buzzer, and tactile switches, all controlled with Rust.
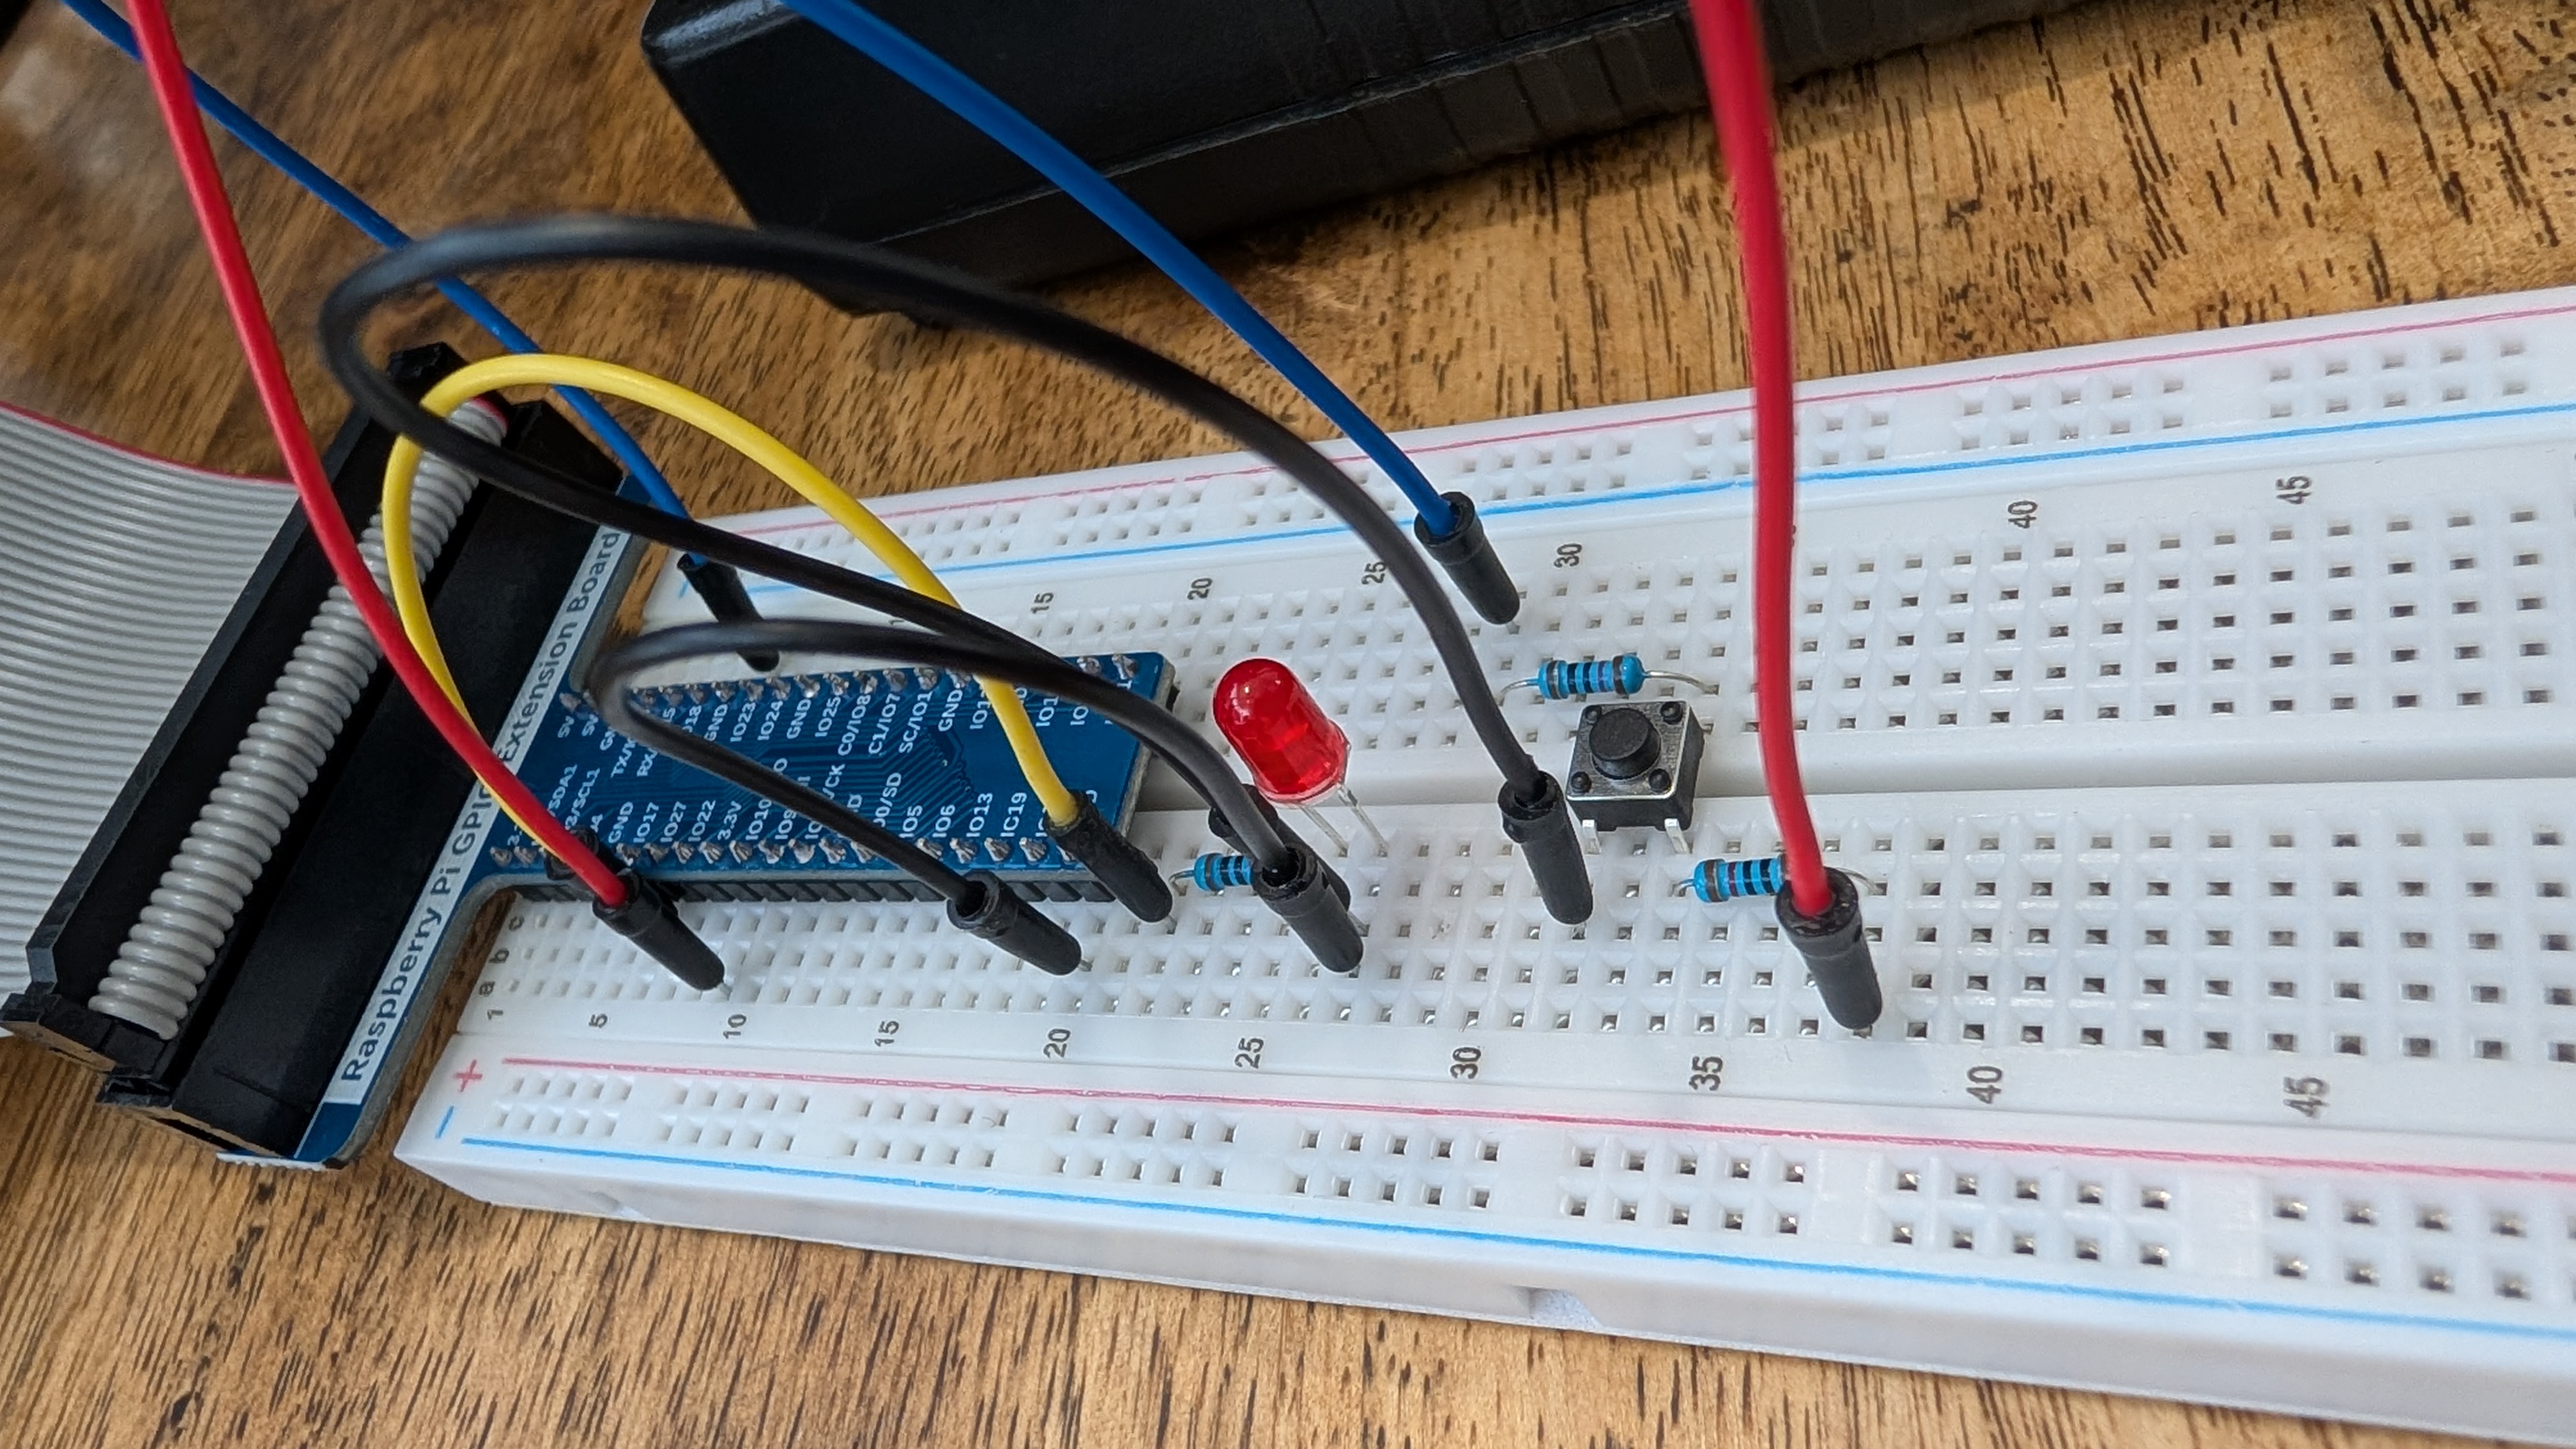
Components
The components used are as follows:
- NPN Transistor (S8050) * 1
- Tactile Switch * 1
- 1kΩ Resistor * 1
- 10kΩ Resistors * 2
- Active Buzzer * 1
- Jumper Wires * 9
Circuit
Please refer to the Freenove circuit documentation. Since the output current from the Raspberry Pi GPIO is small, it cannot directly drive an active buzzer that requires a large current. Therefore, a simple circuit is built that uses a transistor to amplify the current and enable the active buzzer to operate.
Code
Please add rppal and ctrlc dependencies using cargo and write the code.
Doorbell
This code makes the buzzer sound momentarily when a button is pressed.
use rppal::gpio::{Gpio, InputPin, OutputPin, Trigger};
use std::error::Error;
use std::sync::atomic::{AtomicBool, Ordering};
use std::sync::Arc;
use std::time::Duration;

const BUZZER_PIN: u8 = 17;
const BTN_PIN: u8 = 18;
const POLL_TIMEOUT_MS: u64 = 10;

fn main() -> Result<(), Box<dyn Error>> {
    print_startup_message();

    let (mut buzzer_pin, mut btn_pin) = initialize_gpio()?;
    initialize_buzzer(&mut buzzer_pin);
    setup_button_interrupt(&mut btn_pin)?;

    let running = setup_signal_handler()?;

    println!("Waiting for button press...");

    run_interrupt_loop(&running, &mut buzzer_pin, &mut btn_pin)?;

    cleanup(&mut buzzer_pin, &mut btn_pin)?;

    Ok(())
}

fn print_startup_message() {
    println!("Program is starting...");
}

fn initialize_gpio() -> Result<(OutputPin, InputPin), Box<dyn Error>> {
    let gpio = Gpio::new()?;
    let buzzer_pin = gpio.get(BUZZER_PIN)?.into_output();
    let btn_pin = gpio.get(BTN_PIN)?.into_input();
    Ok((buzzer_pin, btn_pin))
}

fn initialize_buzzer(buzzer_pin: &mut OutputPin) {
    buzzer_pin.set_low();
}

fn setup_button_interrupt(btn_pin: &mut InputPin) -> Result<(), Box<dyn Error>> {
    btn_pin.set_interrupt(Trigger::Both, None)?;
    Ok(())
}

fn setup_signal_handler() -> Result<Arc<AtomicBool>, Box<dyn Error>> {
    let running = Arc::new(AtomicBool::new(true));
    let r = running.clone();
    ctrlc::set_handler(move || {
        r.store(false, Ordering::SeqCst);
    })?;
    Ok(running)
}

fn run_interrupt_loop(
    running: &Arc<AtomicBool>,
    buzzer_pin: &mut OutputPin,
    btn_pin: &mut InputPin,
) -> Result<(), Box<dyn Error>> {
    while running.load(Ordering::SeqCst) {
        if let Some(_) = btn_pin.poll_interrupt(true, Some(Duration::from_millis(POLL_TIMEOUT_MS)))? {
            handle_button_interrupt(buzzer_pin, btn_pin);
        }
    }
    Ok(())
}

fn handle_button_interrupt(buzzer_pin: &mut OutputPin, btn_pin: &InputPin) {
    if is_button_pressed(btn_pin) {
        turn_on_buzzer(buzzer_pin);
        print_buzzer_on_message();
    } else {
        turn_off_buzzer(buzzer_pin);
        print_buzzer_off_message();
    }
}

fn is_button_pressed(btn_pin: &InputPin) -> bool {
    btn_pin.is_low()
}

fn turn_on_buzzer(buzzer_pin: &mut OutputPin) {
    buzzer_pin.set_high();
}

fn turn_off_buzzer(buzzer_pin: &mut OutputPin) {
    buzzer_pin.set_low();
}

fn print_buzzer_on_message() {
    println!("Button is pressed, buzzer turned on >>>");
}

fn print_buzzer_off_message() {
    println!("Button is released, buzzer turned off <<<");
}

fn cleanup(buzzer_pin: &mut OutputPin, btn_pin: &mut InputPin) -> Result<(), Box<dyn Error>> {
    println!("Ending program");
    let _ = btn_pin.clear_interrupt();
    turn_off_buzzer(buzzer_pin);
    Ok(())
}
Alertor
This code makes the buzzer sound continuously while a button is being pressed.
use rppal::gpio::{Gpio, InputPin, OutputPin};
use std::error::Error;
use std::sync::atomic::{AtomicBool, Ordering};
use std::sync::Arc;
use std::thread;
use std::time::Duration;

const BUZZER_PIN: u8 = 17;
const BTN_PIN: u8 = 18;
const ALERTOR_FREQUENCY: f64 = 220.0; // 220Hz
const ALERTOR_DUTY_CYCLE: f64 = 0.5;  // 50% duty cycle
const LOOP_DELAY_MS: u64 = 10;
const ALERTOR_DURATION_MS: u64 = 100;

fn main() -> Result<(), Box<dyn Error>> {
    print_startup_message();

    let (mut buzzer_pin, btn_pin) = initialize_gpio()?;
    initialize_buzzer(&mut buzzer_pin);

    let running = setup_signal_handler()?;

    println!("Waiting for button press...");

    run_main_loop(&running, &mut buzzer_pin, &btn_pin)?;

    cleanup(&mut buzzer_pin)?;

    Ok(())
}

fn print_startup_message() {
    println!("Program is starting...");
}

fn initialize_gpio() -> Result<(OutputPin, InputPin), Box<dyn Error>> {
    let gpio = Gpio::new()?;
    let buzzer_pin = gpio.get(BUZZER_PIN)?.into_output();
    let btn_pin = gpio.get(BTN_PIN)?.into_input();
    Ok((buzzer_pin, btn_pin))
}

fn initialize_buzzer(buzzer_pin: &mut OutputPin) {
    buzzer_pin.set_low();
}

fn setup_signal_handler() -> Result<Arc<AtomicBool>, Box<dyn Error>> {
    let running = Arc::new(AtomicBool::new(true));
    let r = running.clone();
    ctrlc::set_handler(move || {
        r.store(false, Ordering::SeqCst);
    })?;
    Ok(running)
}

fn run_main_loop(
    running: &Arc<AtomicBool>,
    buzzer_pin: &mut OutputPin,
    btn_pin: &InputPin,
) -> Result<(), Box<dyn Error>> {
    while running.load(Ordering::SeqCst) {
        if is_button_pressed(btn_pin) {
            play_alertor_sound(buzzer_pin)?;
            print_alertor_on_message();
        } else {
            stop_alertor_sound(buzzer_pin)?;
            print_alertor_off_message();
        }

        thread::sleep(Duration::from_millis(LOOP_DELAY_MS));
    }
    Ok(())
}

fn is_button_pressed(btn_pin: &InputPin) -> bool {
    btn_pin.is_low()
}

fn play_alertor_sound(buzzer_pin: &mut OutputPin) -> Result<(), Box<dyn Error>> {
    buzzer_pin.set_pwm_frequency(ALERTOR_FREQUENCY, ALERTOR_DUTY_CYCLE)?;
    thread::sleep(Duration::from_millis(ALERTOR_DURATION_MS));
    Ok(())
}

fn stop_alertor_sound(buzzer_pin: &mut OutputPin) -> Result<(), Box<dyn Error>> {
    buzzer_pin.clear_pwm()?;
    buzzer_pin.set_low();
    Ok(())
}

fn print_alertor_on_message() {
    println!("alertor turned on >>> ");
}

fn print_alertor_off_message() {
    println!("alertor turned off <<<");
}

fn cleanup(buzzer_pin: &mut OutputPin) -> Result<(), Box<dyn Error>> {
    println!("Ending program");
    stop_alertor_sound(buzzer_pin)?;
    Ok(())
}
Operation Example
シンプルな回路でRust側で遊んだ pic.twitter.com/zb7gMyNoqU
— K (@rmc_km) June 9, 2025
Summary
I learned how to control how a buzzer sounds using Rust while confirming how to use transistors. Since the circuit itself is simple, I was able to confirm that the buzzer operates by amplifying the current with a transistor. Although two power systems are required, with a Raspberry Pi, power can be easily supplied, making transistor learning simple. I want to continue learning about embedded systems and circuits together in the future.


![[Rust] Blinking an LED with a Raspberry Pi Learning Kit](https://b.rmc-8.com/img/2025/06/01/1fbe657aa246865432be2e1d53002531.jpg)
![[Rust] Controlling LED Brightness with a Potentiometer](https://b.rmc-8.com/img/2025/12/09/619fcb6df86be6be77c4b698b825a332.jpg)
Loading comments...